
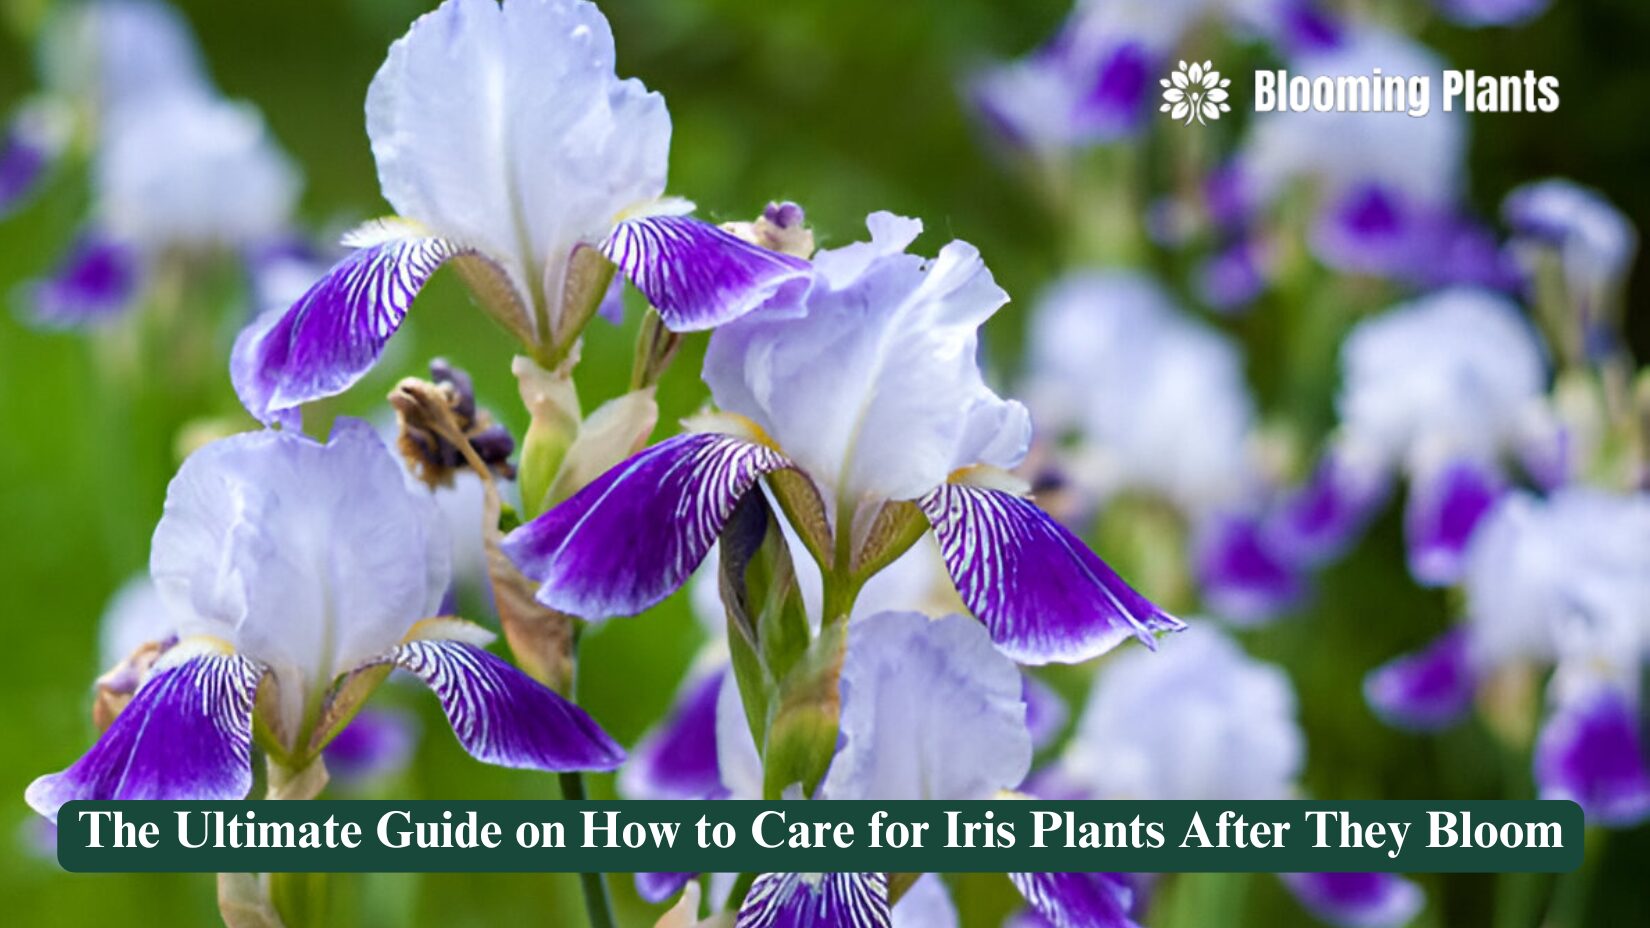
Introduction
Caring for iris plants after they bloom is just as important as tending to them during their growth phase. While irises are known for their striking beauty and vibrant colours, proper post-bloom care ensures that they continue to thrive year after year. With a little attention and some know-how, you can help your irises recover from their blooming season, preserve their health, and get ready for the next cycle of growth.
In this guide, we’ll walk you through the essential steps to care for your irises after they bloom. From deadheading to preparing them for dormancy, we’ll cover everything you need to know for robust and beautiful irises year after year.
Caring for Irises After Blooming
Deadheading: Removing Spent Blooms
After the flowers of an iris plant have faded, it’s time to remove the spent blooms. Deadheading not only helps keep the plant looking neat but also prevents the plant from expending energy on seed production, directing more resources into the roots and bulbs for next year’s growth.
Why Deadheading is Important
Deadheading encourages healthier growth by redirecting energy to the rhizomes, helping the plant conserve nutrients.
How to Deadhead Iris Flowers
Use sharp pruning shears to cut the flower stalks just above the foliage. Be careful not to damage the leaves, as they play a crucial role in photosynthesis.
When to Deadhead
It’s best to deadhead irises once the flowers have fully withered. If left too long, the plant might go to seed, which could reduce the energy available for root development.
Pruning and Trimming Foliage
Once the irises have finished flowering, their leaves may become tall and floppy. Proper pruning and trimming help keep the plant looking tidy and healthy.
Why Prune Iris Leaves
Cutting back any dead or yellowing foliage prevents disease and encourages new growth for the following year.
How to Trim Iris Foliage
Trim the foliage back to around six inches above the ground using a sharp pair of shears. This will help reduce the chance of fungal infections and pests while allowing the plant to conserve energy.
Best Time to Trim Foliage
Prune the leaves after the blooming season has ended, but before the onset of colder weather. This helps prepare the plant for dormancy.
Fertilizing for Future Growth
Fertilizing your irises after blooming provides them with the nutrients they need to stay strong throughout their dormancy period and emerge healthy in the spring.
Choosing the Right Fertilizer
Select a balanced, slow-release fertilizer that is low in nitrogen. A high-nitrogen fertilizer can encourage excessive leaf growth at the expense of blooms.
How to Apply Fertilizer
Apply the fertilizer around the base of the plant, ensuring that it’s spread evenly across the soil. Avoid direct contact with the rhizomes to prevent potential burns.
Fertilizing Frequency
Fertilize irises in early spring after they finish blooming and again in the fall to ensure the plant is well-fed during the dormant season.
Watering After the Blooming Period
Proper watering is crucial for maintaining healthy irises after they bloom. The right amount of water will help them recover and prepare for next season.
Watering Needs of Irises
While irises are drought-tolerant, they still require adequate water during the growing season. After blooming, ensure the soil remains moist but not waterlogged.
Signs of Overwatering
Look for signs like yellowing leaves or root rot if the plants are overwatered. It’s essential to allow the soil to dry slightly between watering sessions.
How to Water Properly
Water the base of the plant, avoiding wetting the leaves to reduce the risk of fungal infections. Water deeply to ensure that the roots get enough moisture.
Dividing and Replanting Irises
Dividing and replanting irises is a great way to rejuvenate the plants, improve their health, and prevent overcrowding.
Why Divide Irises
Over time, irises can become overcrowded and may fail to bloom as vigorously. Dividing the rhizomes every 3-4 years helps maintain their health and vigour.
How to Divide Irises
Carefully dig up the rhizomes after the blooming season. Separate the healthy rhizomes, removing any dead or damaged parts before replanting.
When to Divide Irises
The best time to divide irises is in late summer or early fall after blooming has finished. This timing allows the plants to establish their roots before the cold weather sets in.
Preparing Irises for Dormancy
Irises go through a dormant period after blooming, and it’s essential to prepare them for this phase to ensure they return strong the next growing season.
Why Dormancy is Important
During dormancy, Irises conserve energy and nutrients. This resting phase helps the plants survive through colder weather and come back fresh and healthy in spring.
How to Prepare for Dormancy
Stop watering and fertilizing the irises in the late fall to allow them to enter dormancy naturally. Ensure that the rhizomes are not waterlogged, as this can lead to rot.
Signs of Dormancy
You’ll notice that the foliage starts to yellow and die back. This is completely normal and signals that the plant is entering its dormant phase.
Protecting Irises from Pests and Diseases
After blooming, it’s crucial to protect your irises from potential pests and diseases that could affect their health during the dormant season.
Common Iris Pests
Look out for pests like iris borers, aphids, and slugs, which can damage the plant and its rhizomes.
How to Prevent and Treat Pests
Use organic insecticidal soap to treat pest problems and remove any affected parts of the plant. Maintaining good garden hygiene can also help reduce pest infestations.
Preventing Diseases
Ensure your irises has proper spacing to improve air circulation, which helps prevent fungal diseases like iris leaf spot.
Mulching for Winter Protection
Mulching is an effective way to protect irises from extreme weather conditions during the winter months.
Why Mulch is Necessary
A layer of mulch helps insulate the roots and prevents frost damage. It also helps retain moisture in the soil, which is beneficial during the dormant period.
Types of Mulch to Use
Use organic materials like shredded leaves, straw, or pine needles. These materials break down over time, enriching the soil.
How to Apply Mulch
Apply mulch around the base of the plant in late fall, but be sure not to cover the rhizomes directly. A few inches of mulch will suffice to protect the roots without smothering the plant.
Monitoring Soil Conditions
Maintaining the right soil conditions after blooming ensures that your irises have the best environment for resting and thriving in the next growing season.
Soil pH Requirements
Irises prefer slightly acidic to neutral soil (pH 6.0-7.0). Test the soil’s pH and amend it if necessary with lime or sulfur to adjust the levels.
Soil Drainage
Good drainage is essential to prevent root rot. If your soil is heavy clay, amend it with organic matter or sand to improve drainage.
How to Improve Soil Quality
Consider adding compost or well-rotted manure to enrich the soil. This helps retain moisture while providing essential nutrients to the plant.
Storing Iris Rhizomes (If Necessary)
In colder climates, you may need to dig up and store your irises during the winter to prevent them from freezing.
When to Store Iris Rhizomes
If you live in an area with harsh winters, dig up the rhizomes after the foliage dies back, typically in late fall.
How to Store Rhizomes
Clean the rhizomes and let them dry for a few days in a cool, well-ventilated area. Store them in a paper bag or box in a cool, dry location until spring.
Signs That Rhizomes Are Ready for Storage
Ensure the rhizomes are healthy and free of disease before storing them. Discard any rotting or soft rhizomes.
Encouraging Healthy Growth for Next Season
Proper care after blooming sets the stage for healthy growth when your irises emerge next spring.
How to Encourage Strong Spring Growth
Proper division, soil amendments, and pest control ensure that your irises have a healthy foundation for the next blooming season.
Signs of Healthy Iris Growth
Look for vibrant, upright foliage in early spring as a sign of good health. A strong root system should have developed during dormancy.
How to Encourage More Blooms
Regularly fertilize your irises with a balanced fertilizer and ensure they are planted in well-draining soil. Consistent care will lead to more blooms.
Table: Iris Plant Care After Blooming at a Glance
| Task | When to Do It | Why It’s Important |
| Deadheading | Immediately after bloom | Redirects energy to rhizomes instead of seed production. |
| Trimming foliage | Late summer/early fall | Prevents disease, tidies up the garden, and encourages healthy regrowth. |
| Fertilizing | Spring and fall | Provides essential nutrients for root and bloom development. |
| Watering | Weekly as needed | Keeps the soil moist for recovery and root strengthening, avoiding overwatering. |
| Dividing rhizomes | Every 3-4 years | Prevents overcrowding and promotes healthier, more abundant blooms. |
| Mulching | Late fall | Insulates the rhizomes and roots during the winter. |
| Soil testing and amending | Annually | Ensures the soil pH and drainage are optimal for iris growth. |
| Pest and disease control | Year-round | Prevents damage from common pests like iris borers and diseases such as leaf spot. |
| Storage (if needed) | Late fall | Protects rhizomes in harsh climates and ensures they survive the winter. |
| Encouraging new growth | Ongoing | Promotes vibrant blooms and healthy foliage for the next growing season. |
Additional Tips for Post-Bloom Iris Care
- Spacing Matters: Make sure irises are spaced about 12–18 inches apart. This ensures good air circulation, which helps prevent fungal diseases and encourages robust growth.
- Label Your Plants: If you have multiple iris varieties, label them during blooming so you can easily identify and manage them after the season ends.
- Compost Benefits: Use a layer of well-rotted compost in the late fall to enrich the soil naturally while protecting the rhizomes.
- Sunlight Considerations: Ensure your irises are in a spot that gets at least 6 hours of sunlight daily, as this is crucial for next season’s blooms.
Case Study: Revitalizing an Overcrowded Iris Garden
In one suburban garden in Ohio, an iris bed had stopped blooming due to overcrowding. The owner noticed the problem in mid-summer and decided to divide the plants.
- The Process:
- They dug up the rhizomes carefully, washed away excess soil, and inspected for any signs of rot or damage.
- Healthy rhizomes were trimmed and replanted 12 inches apart in a sunnier location with better drainage.
- The Result:
- By the following spring, the irises bloomed magnificently with healthier, larger flowers. The owner attributed the success to dividing the plants and improving the soil conditions.
This highlights how proper post-bloom care can completely transform an iris garden.
Encouraging More Blooms: Secrets from Expert Gardeners
- Feed Wisely: Gardeners recommend using a phosphorus-rich fertilizer in the fall, as phosphorus promotes strong root systems and better blooms.
- Cut Sparingly: Only remove spent blooms and yellowing leaves; the green leaves need to stay intact to continue photosynthesis.
- Rotate Plants: Occasionally rotating iris locations within your garden can prevent soil exhaustion and give them a fresh start.
Final Thoughts
Iris plants are a gardener’s delight, and with the right post-bloom care, they can reward you with years of vibrant blooms. While caring for them requires some effort, following these steps will ensure your irises remain healthy, robust, and ready to dazzle every season. Remember, healthy roots lead to beautiful blooms, so focus on maintaining your irises’ foundation, and nature will take care of the rest.
By dedicating some attention to their needs after blooming, you’ll enjoy a flourishing iris garden that serves as a testament to your green thumb!
Conclusion
Caring for irises after they bloom may require a bit of effort, but it’s well worth it. With the right post-bloom care, your irises will remain strong, healthy, and ready to bloom again the following year. Deadheading, proper watering, trimming, and occasional dividing are key to ensuring these beautiful flowers continue to shine in your garden for seasons to come.
FAQs
- Should I mulch my irises in summer?
No, mulching in summer is not recommended as it can retain too much moisture around the rhizomes, increasing the risk of rot. Mulch is better applied in late fall for winter protection. - How can I prevent iris borers?
To prevent iris borers, clean up garden debris in the fall and inspect rhizomes regularly. Applying a systemic pesticide in early spring can also help control these pests. - Can I grow irises in pots?
Yes, irises can grow in pots as long as the container has good drainage and the soil remains well-aerated. Ensure the pot receives plenty of sunlight. - Why are my iris leaves turning brown?
Brown leaves could indicate water stress, fungal diseases, or an infestation of iris borers. Trim the affected leaves, adjust watering, and apply appropriate treatments. - Is deadheading mandatory for irises?
Deadheading isn’t mandatory, but it’s highly beneficial as it prevents seed production and encourages the plant to focus on strengthening the rhizomes for the next bloom. - What is the best time to divide irises?
Late summer to early fall is the ideal time to divide irises. This gives the plants time to establish roots before winter. - Do irises need winter protection?
In mild climates, irises don’t need much winter protection. However, in colder regions, covering rhizomes with a light layer of straw or mulch can prevent frost damage. - Can I propagate irises from seeds?
Yes, but it’s a lengthy process. Most gardeners prefer propagation by dividing rhizomes because it’s faster and ensures the new plants are true to the parent plant. - How can I improve iris blooms next season?
To improve blooms, ensure the irises get plenty of sunlight, use a low-nitrogen fertilizer, and divide overcrowded clumps. Regular maintenance is key. - Are there any companion plants for irises?
Yes, irises pair well with plants like daylilies, salvia, and peonies, which thrive in similar conditions and add diversity to your garden.